
We may be well into 2024, but that doesn’t mean the creativity has stopped flowing here at Art For Fun! Here’s our update for February so you can see all the new art forms we explored and workshops we held in February.
Week 1
01/02/2024
This was Zoe’s last week as our teacher. The January Challenge had ended, so she sought ideas for our final workshop. The group threw out many suggestions, like still life, but in the end, working with Clay won.
When you think of ceramics, multiple things come to mind, like the pottery wheel, the use of kilns, the massive soggy lump of clay, and how expensive it is!
It seemed impossible for Zoe to make clay work accessible for us as we didn’t have the space, money, or equipment. I remember thinking: How is this going to work without pottery wheels? How would we kiln-fire it? And I’m sure I wasn’t the only one! So, for the week between the 25th and 1st, everyone was wondering how and if this would happen.
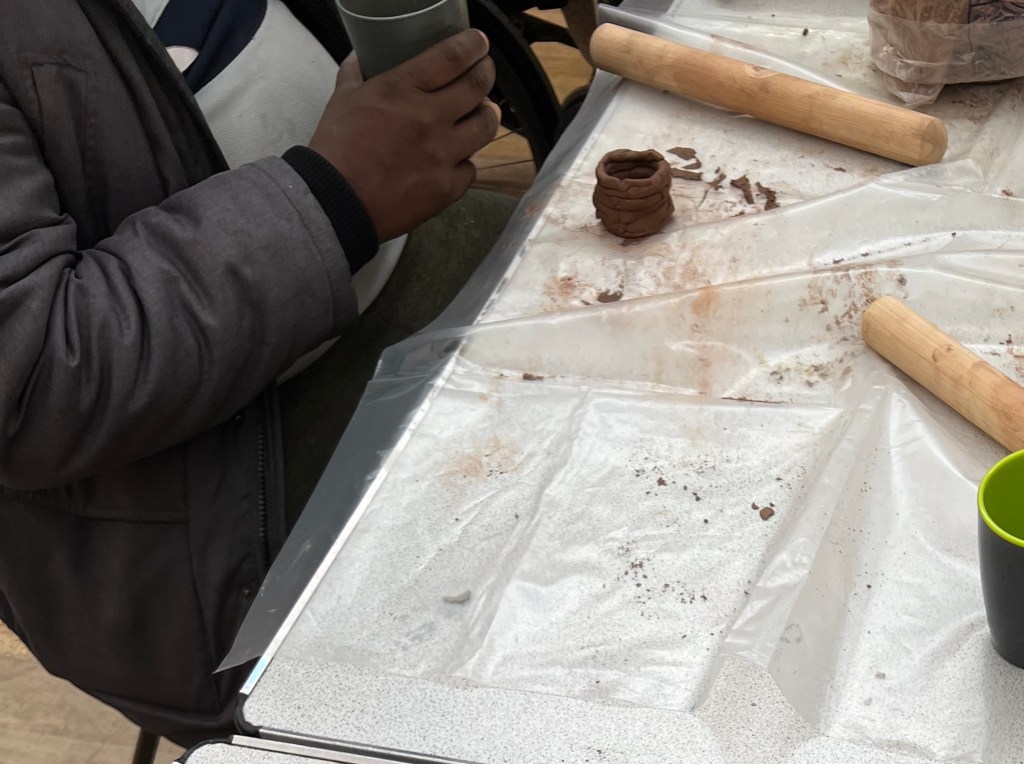
Zoe and Sue managed to pull it off! On the 1st, Zoe arrived with huge blocks of Air-Dried Clay and tools.
We wouldn’t be working with the pottery wheel and kiln ( we don’t have access to that, and it’s way too expensive). Typically, Art For Fun works with traditional art mediums like painting, drawing and sketching. We rarely get to experiment with other forms of art like this! So, it’s delightful to participate in an art form that is as physical and based on ceramics.
Once we set everything up, Zoe explained and demonstrated coil pottery to the group. The steps are simple- on paper, at least.
Step by Step explanation of Coil Pottery
- Roll out a lump of clay into a sheet of the thickness you desire
- Cut out a round base- you can use a cup or lld as a guide
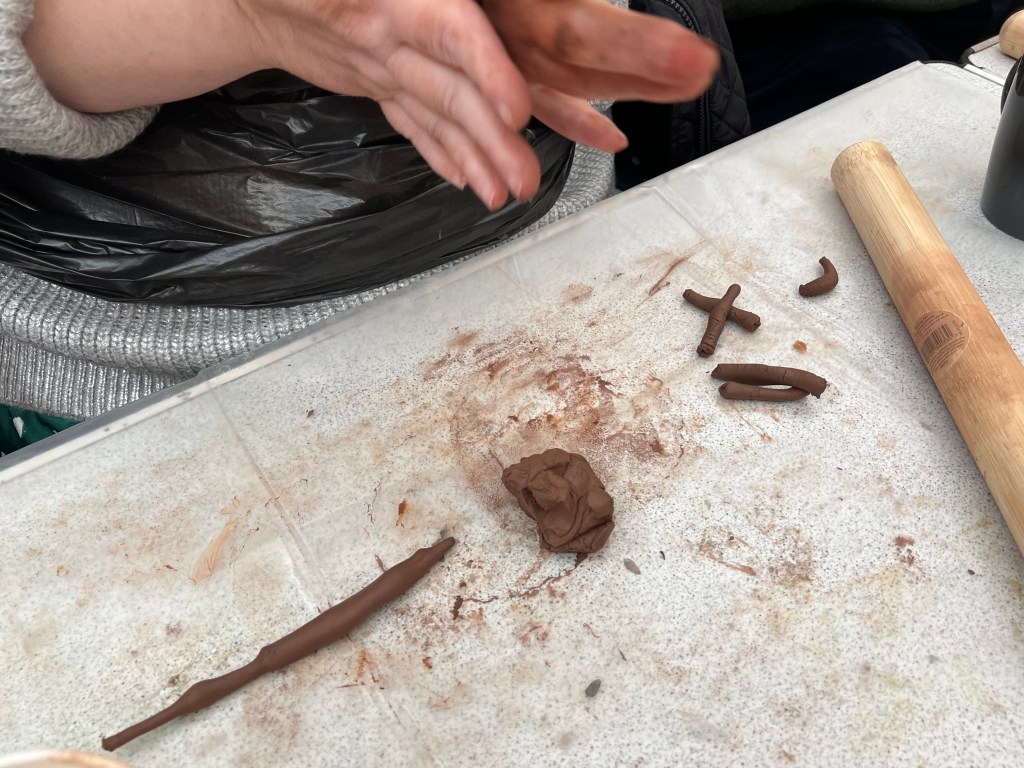
- Once your base is cut, use the rest of the clay to make the coils- roll it up, then divide it into a smaller portion of clay
- Roll the coil along your work surface until you get it to the length and width you desire
- Once rolled to the point where it fits around the base, mark the side of the base and coil-put water around the edges and place the coil on top of the base
- Then, smooth the coil out onto the base to blend it together
- Roll more coils to the same length, width and even-ness of clay, attach the coils to the other coils and blend until you reach your desired height.
What I struggled with
These instructions seemed easy at the time—all you have to do is roll out the clay and blend it together! However, I struggled with this as you must make the clay coils the same length and apply equal pressure to ensure the clay is evenly spread out on the coil. If you get this wrong, the amount of clay in the pot’s walls, once spread out, won’t be equal, and it will collapse.
Another thing I struggled with was getting my clay to stick together. To get clay to stick together, you have to score the parts of clay that will attach together, make it wet, and then blend it together. Again, this seems really easy, but trying to keep the clay damp and just getting the clay to stick even after doing this was a nightmare! You’ve also got to have the correct water ratio, and again, the walls have to be even, or the pot is lopsided and can’t handle the extra weight.
In the end, I had to restart making my pot several times because getting even distributions of clay was complicated. You must be precise with pressure and how much you blend the clay, which can lead to uneven walls. However, the texture felt nice between my fingers. Another problem you might run into when trying to get a smooth blend between coils is that sometimes, you will struggle to close gaps and holes in the ceramics. This can be caused by uneven walls, the width of the coils, or simply struggling to get the coils to stick together.
I do think that if you have arthritis or problems with your hands and try it at home, you may find rolling out the clay, wedging it together and shaping it may be difficult as you have to use your hands a lot, you have to apply a lot of pressure when rolling the clay out and then be gentle and precise when laying the coils on top of each other which is something I struggled with, especially with being a novice and having co-ordination problems! Working with clay can make your hands hurt! Especially if you’re not used to it.
However, the coil pottery method is a very cheap and more accessible way to get into pottery than using the wheel and kiln. All you need is some air-dried clay, which you can find at any craft store, water, a rolling pin, a knife—or something else sharp enough to cut clay.
Photos and final thoughts
We created many pots and mugs that day, and although I struggled, many participants completed many creative ceramic pieces. You can see some of the finished ceramic work below:

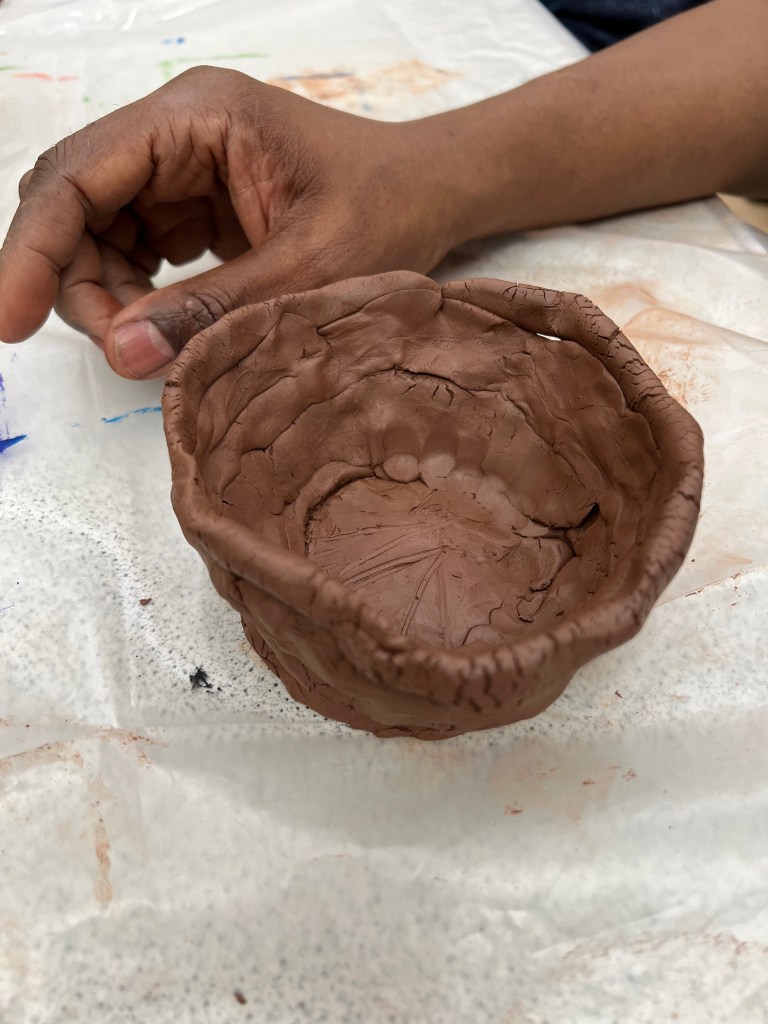
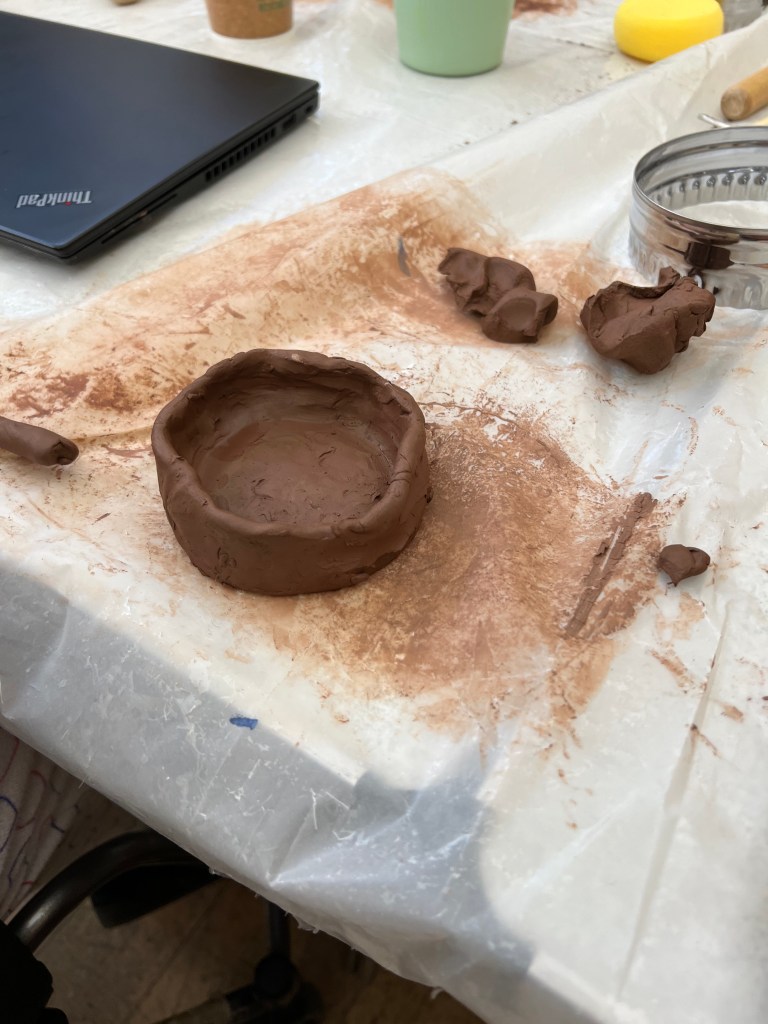
Ultimately, it was a fun session where everyone got their hands dirty and experienced creating a ceramics-based project. Trying to get the clay to go how you want it to can be tedious, especially as a novice and learning to work with and accept those mistakes! However, it was still an enjoyable sensory experience. It provided many (me included) with a new and fun experience—even when I was becoming frustrated with not being able to create a pot I felt proud of.
If you want to try this at home, here are some YouTube videos you could use as a guide.
Week 2-4
08/02/2024-22/02/2024
After a workshop experimenting with clay, I was expecting it to be us volunteers and Sue running the sessions until the Chinese Calligraphy workshop on the 29th. However, experimenting with different art mediums didn’t end with Zoe’s sessions, as we had visitors from the Mary Ward Centre to teach us about Wirework over the next three weeks.
Mary Ward Center
The Mary Ward Centre is an adult education college where you can sign up for all sorts of classes, such as soapmaking or ESOL, and they have sites all around London. Once a month, they typically visit Art For Fun to provide us with a workshop where we can attempt something new. However, because of the monthly People Powered Places workshops we run, Mary Ward Centre now visit us three times every term so that the workshops can be more in-depth and we can fit them into the schedule more easily.
Previous workshops have included creating portraits of apartments using teabags to print the buildings and rubbers as stamps for windows or creating Christmas wreaths out of fabric—with bells included!
If you’re interested in discovering more about the Mary Ward Centre, here’s the link to their website: https://www.marywardcentre.ac.uk/.
Why we collaborate with the Mary Ward Center
Our collaboration with the Mary Ward Center is a part of their outreach programme. It aims to introduce the many groups they work with to different art mediums outside of what they typically have access to. It enables them to enhance their skills at a simple pace, where they feel comfortable—instead of at a Mary Ward Center Campus. These sessions are free, so they aren’t cut out from the arts due to expenses. The outreach programme is another way the Mary Ward Center try to help make arts and education accessible and make opportunities more diverse and equitable.
We changed the schedule when we discovered we had won the PPP grant. Changing from a Mary Ward Session once a month to three weekly visits per term has been really beneficial. It enables us to engage with the art supplies, learn and experiment within the sessions for longer, and we see greater progression for participants this way.
How we progressed
I’ve written extensively about the progression of the extended collaboration with the Mary Ward Centre. Still, I haven’t given you a clear idea of what that change in complexity looked like for Art For Fun.
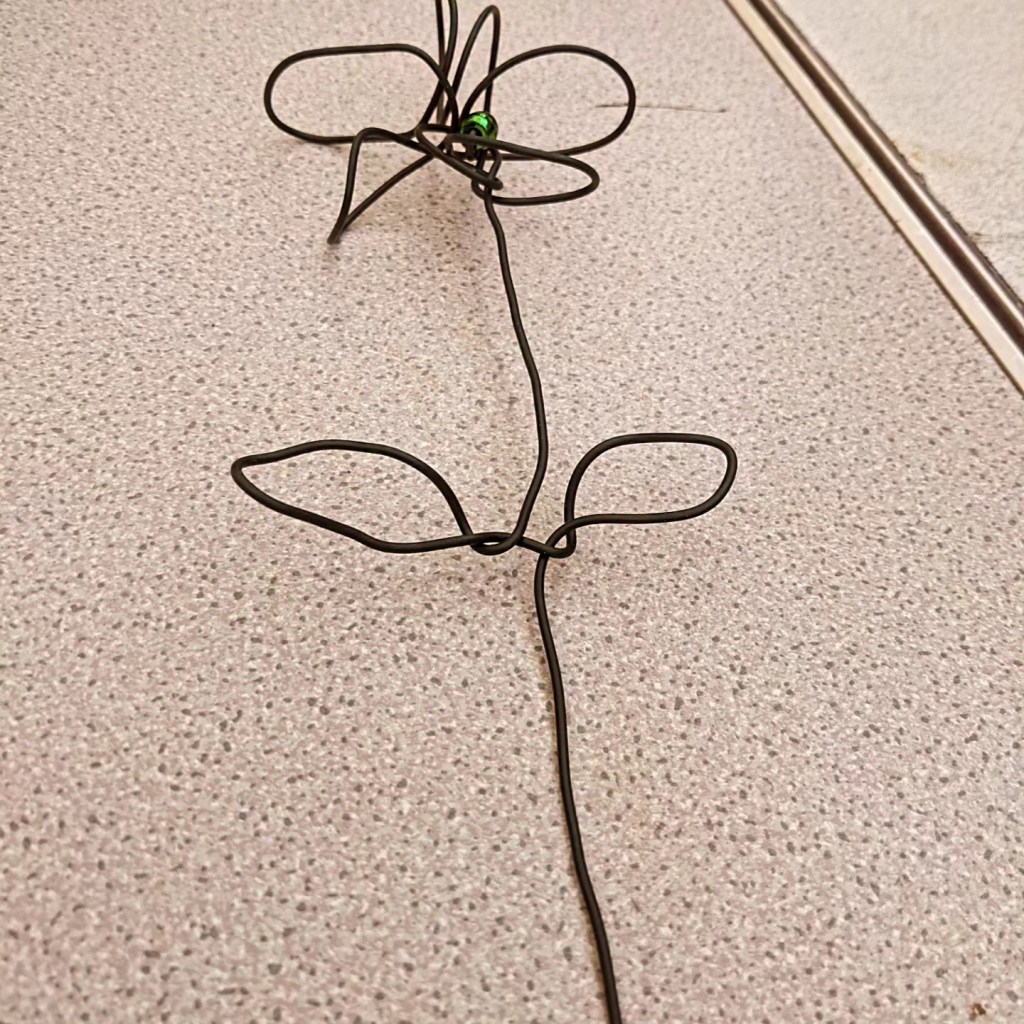
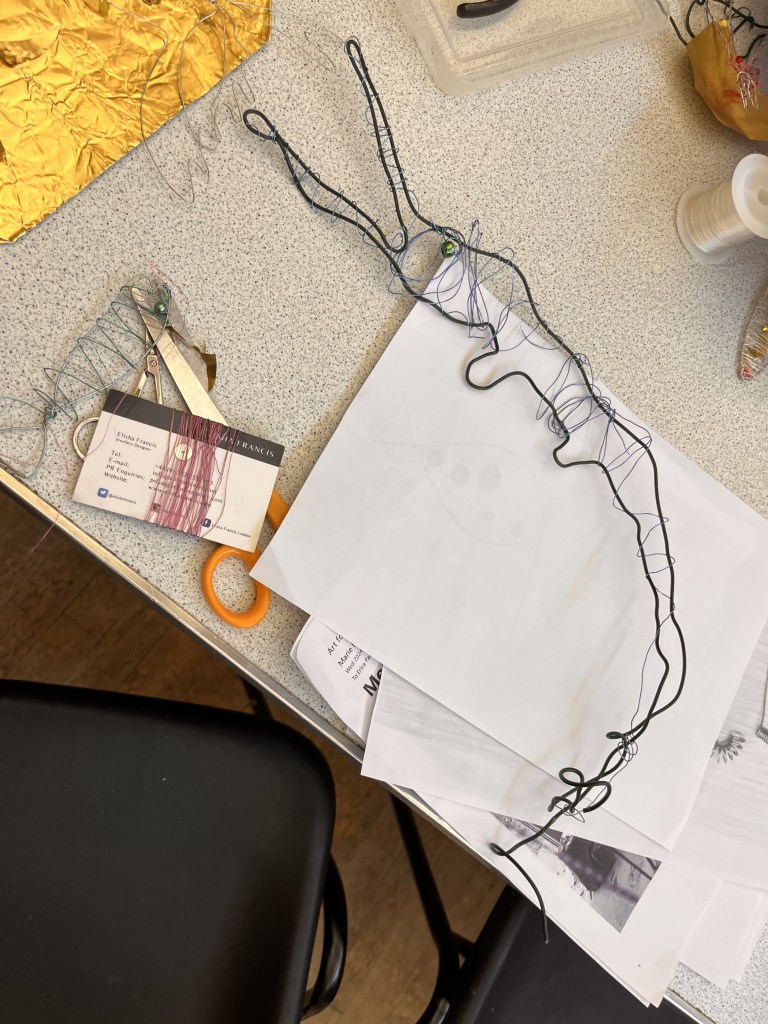
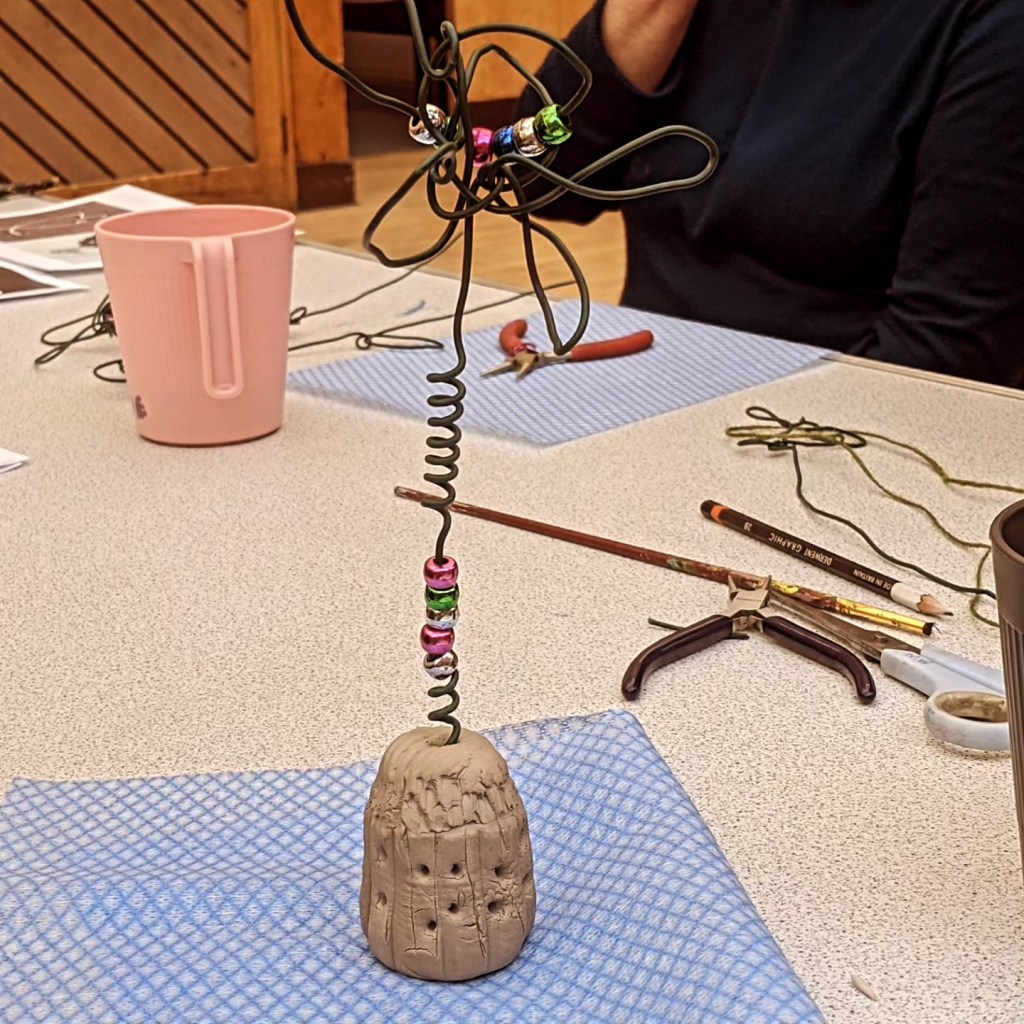
For week 1, the focus was on the supplies and safety, such as what the wire was, how to manipulate its shape, how to use the pliers, and how to decorate it with thread or beads ( at this point, we focused on beads).
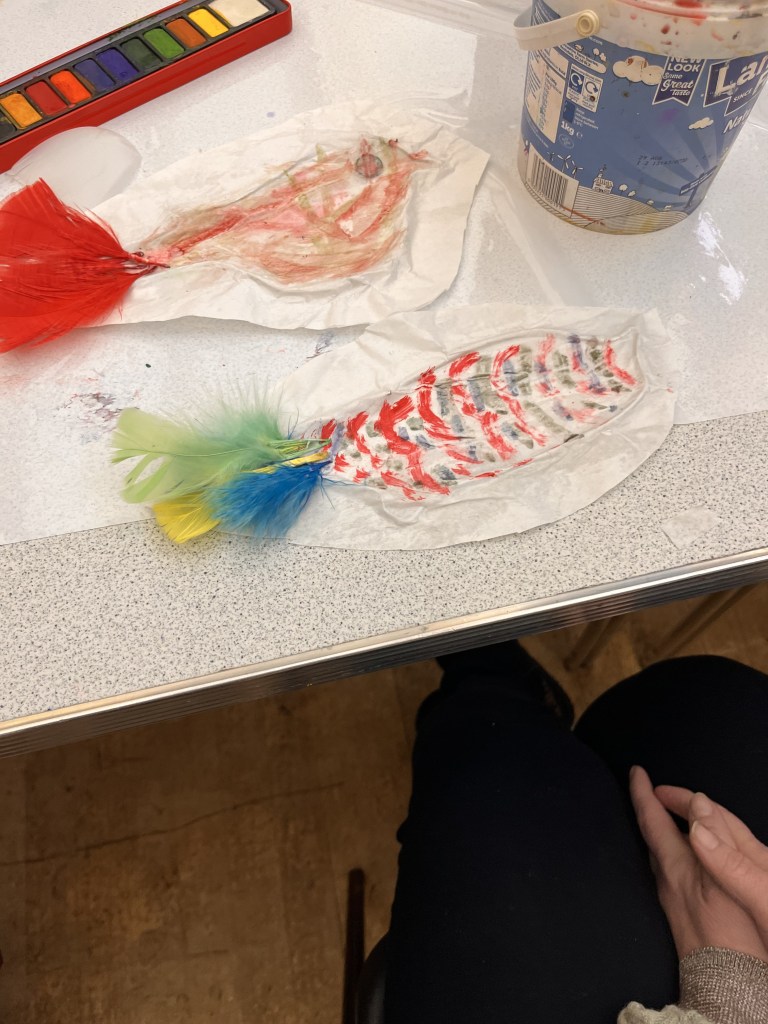
In week 2, we moved on from the long-stemmed flowers. As participants were more confident in shaping the wire, we moved on to more difficult things like Fish and adding fabric to our pieces.
We upped the ante for the final workshop! The group made larger animals, such as Alligators, and added more complex materials to decorate with, like wire and felt.
As a volunteer, I liked seeing all the different ways people used the wire and the varying interpretations within the group. I also vividly remember one participant creating an alligator, which was an out-of-the-box idea to me as I was just expecting typical wirework jewellery pieces. Yet, as I’ve learned from being at Art For Fun, I always expect the unexpected!
Here are some photos from the three weeks:
Week 5
29/02/2024
The 29th of February was an essential workshop for us (all of them were, but this one was a lot of pressure). This workshop was one of the first to have an artist from outside our typical group come to visit, and we had another group within the community join us.
Meet Pau Ling!
We invited artist Pau Ling to our first People-Powered Places (PPP) funded workshop. Pau Ling’s speciality is Chinese ink painting and calligraphy, which she studied since she was ten. When she was thirteen, she had her first solo exhibition. Some of her most recent work includes Pandemic Portraits and collages of co-workers at the Bank of England. They are currently in the Bank of England’s Museum.
You can find out more about Pau Ling on her website.
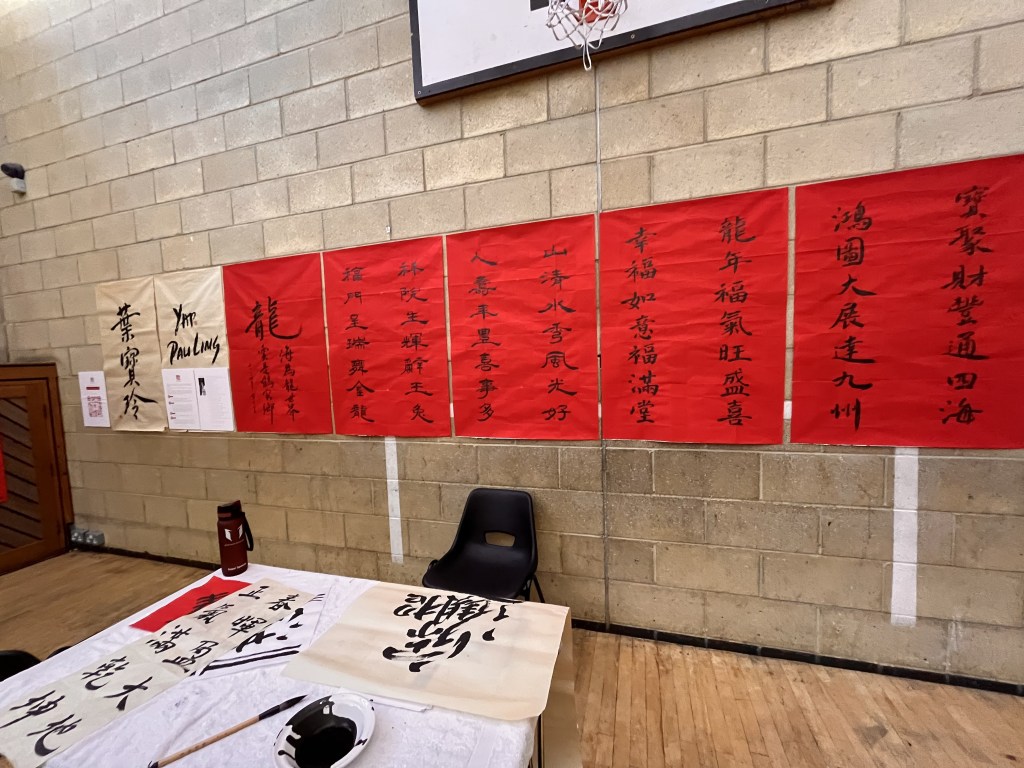
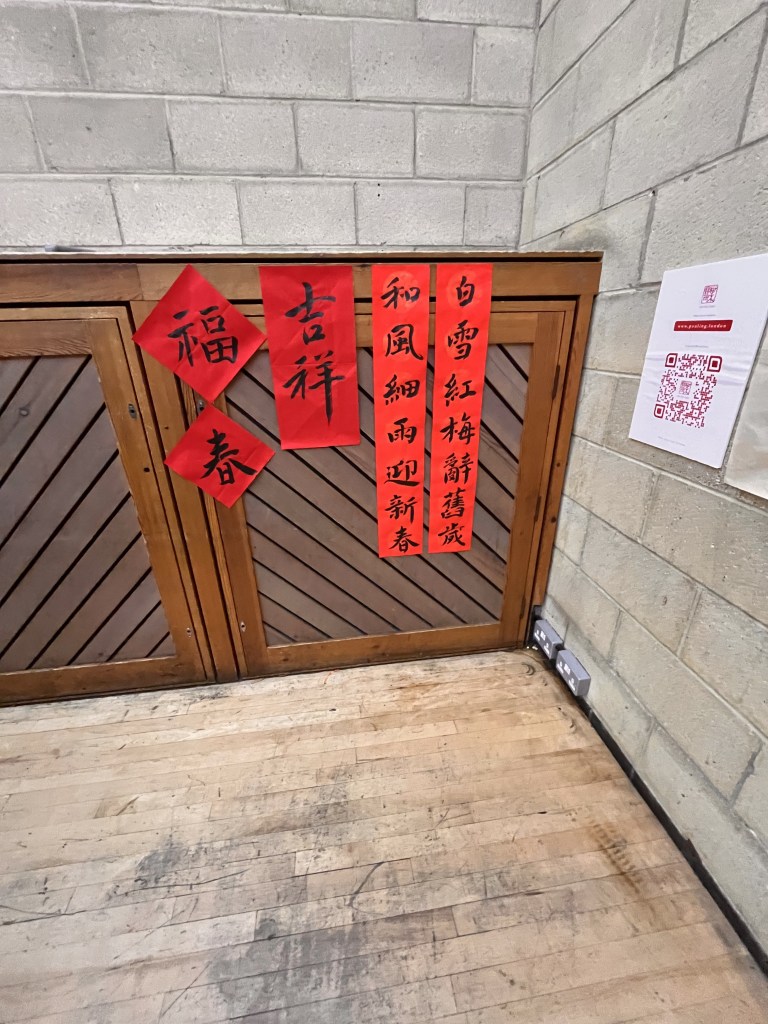
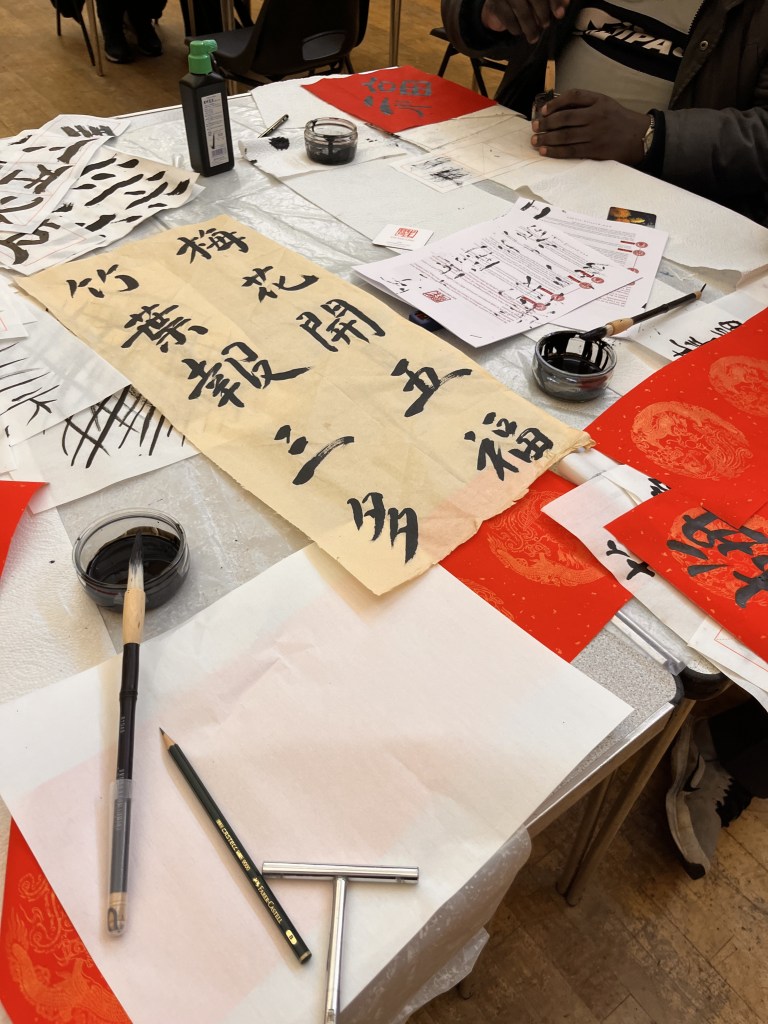
Decorations & Photos
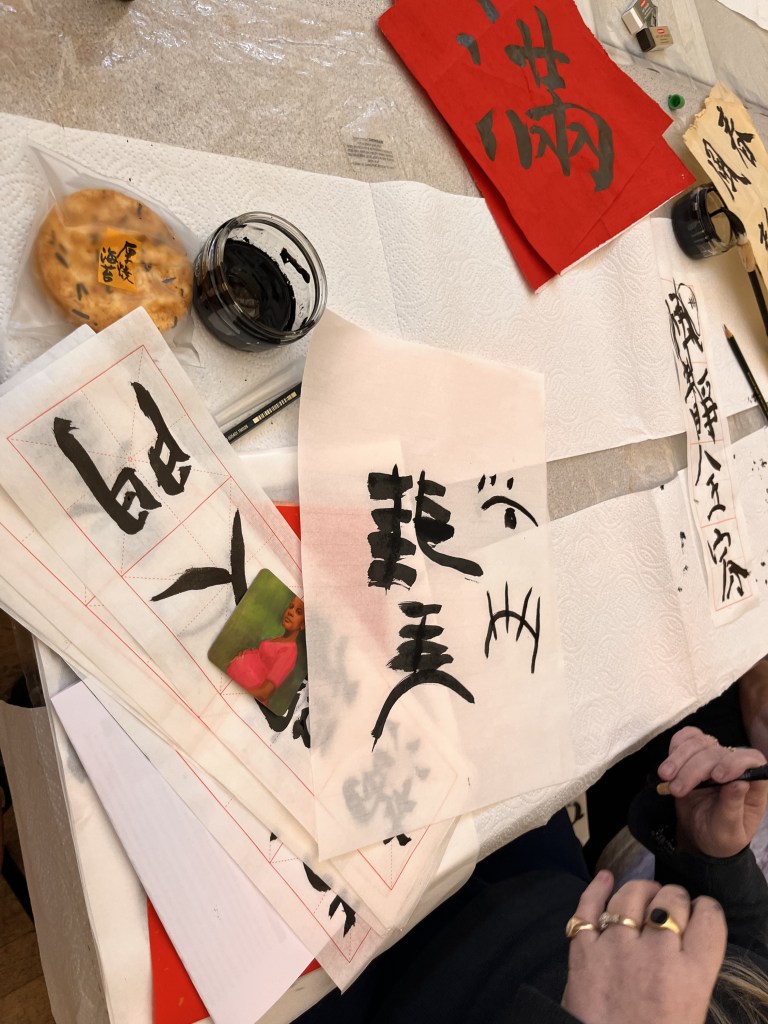
Before the group started at 10 a.m., we decorated the room with red wallpaper with various Chinese characters so attendees could easily refer to it. We also grouped the tables together instead of having two separate length-wide tables. Other decorations included Chinese candy, a dragon, and various badges with the Chinese alphabet. These decorations were vital as they immersed us more into Chinese culture, especially as it was the year of the dragon in the Chinese calendar. Plus, learning about other cultures’ foods is one of the best ways to do that, which is why candy is so helpful. Also, if you’re wondering why red and gold are commonly used throughout China, red and gold are traditional colour symbols.
Red is typically associated with luck, joy, happiness, celebration, vitality, and fertility.
Gold is associated with power, wealth, longevity, and happiness, and money is usually given as a gift for important events like weddings and the New Year.
Once everything was set up, three groups joined our session. At the start, the first half of our group joined us, as did the Chinese group, which is also part of the church. Then, at 11 a.m., Rose’s Perfect Community Care group joined us.
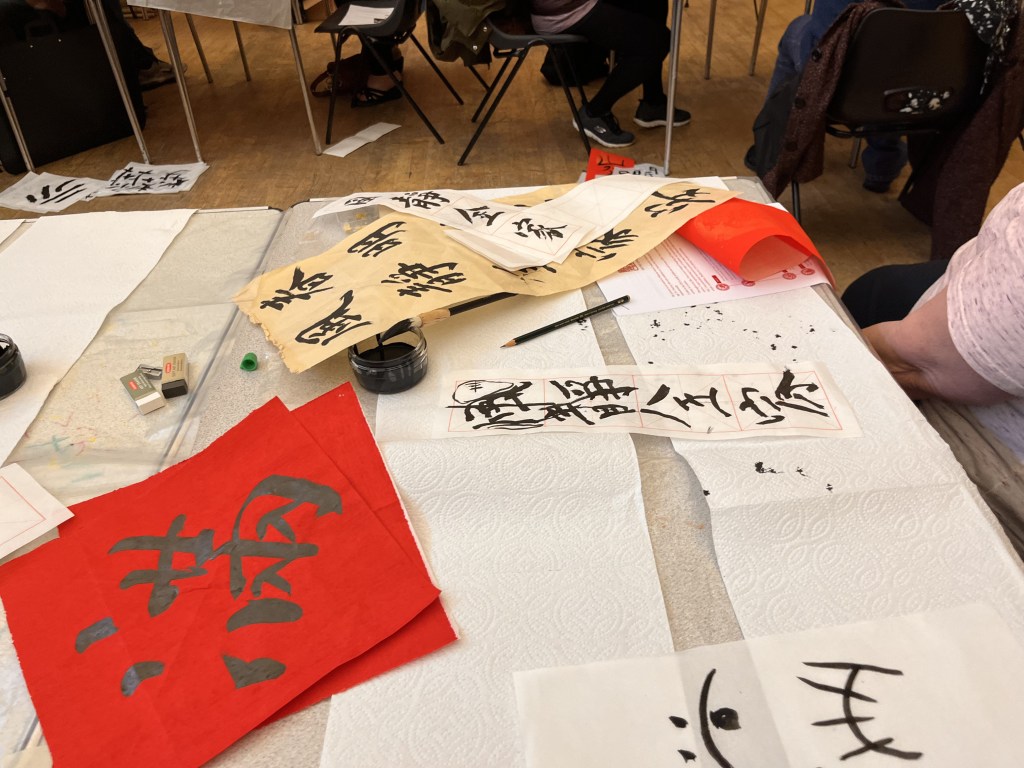
The materials for this workshop were:
- Rice paper
- Black ink
- Chinese Ink Brushes
- Paint paint palette/ Container to hold the ink
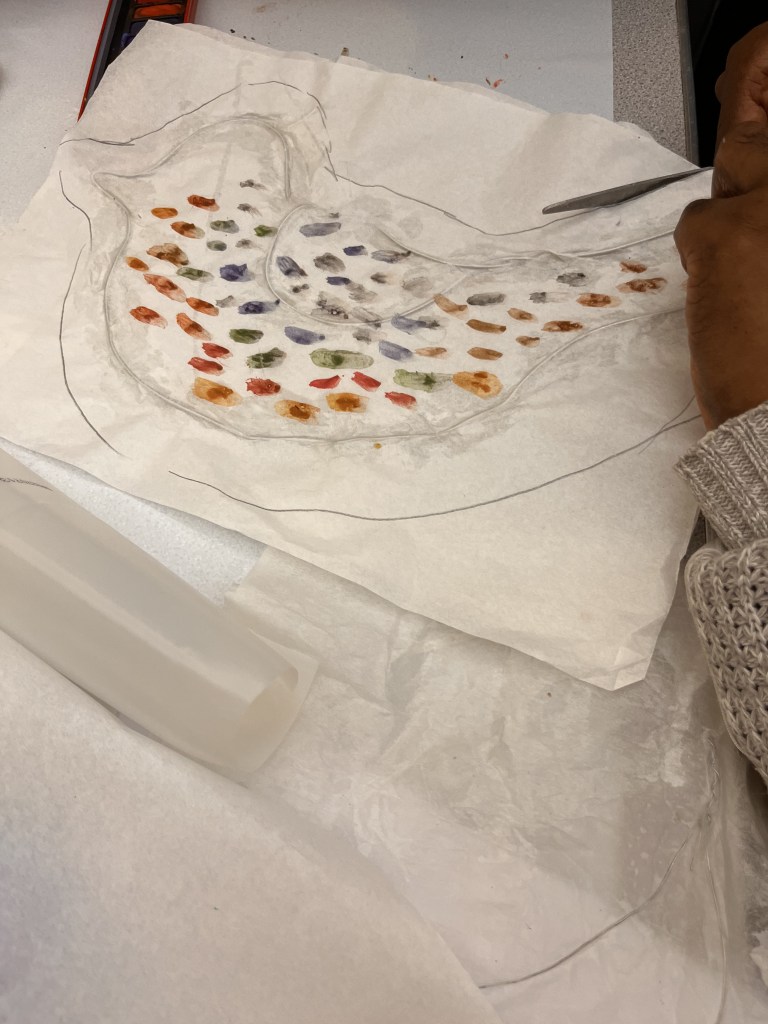
I found the rice paper delicate. It felt thinner and lighter than typical printer paper.
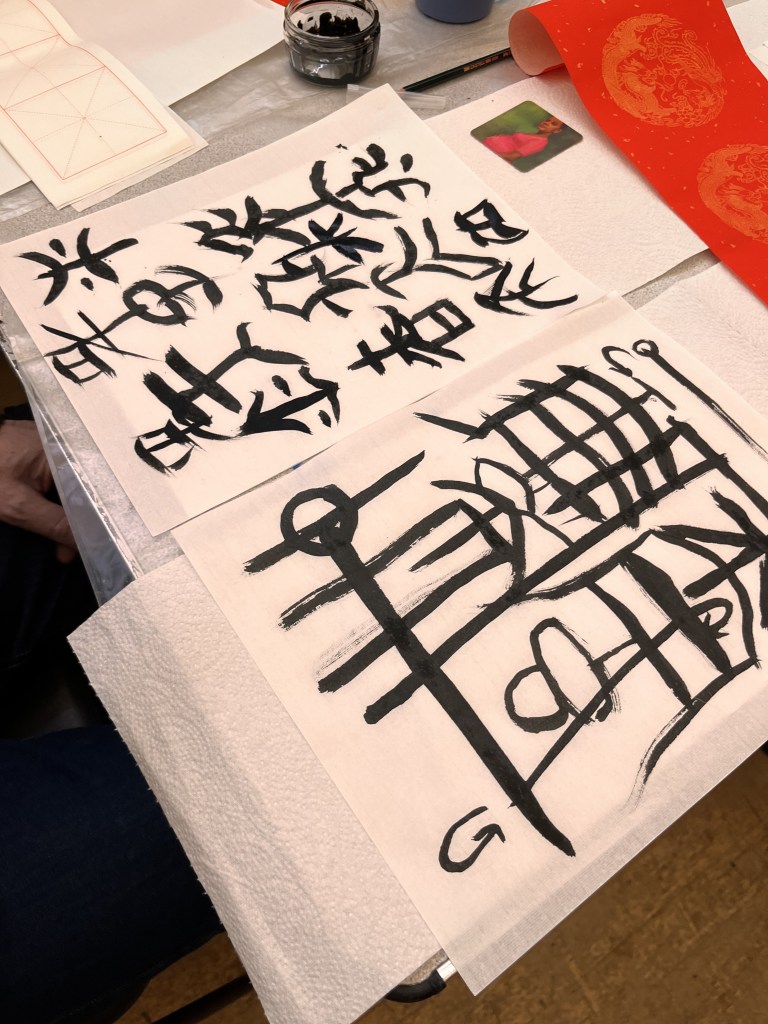
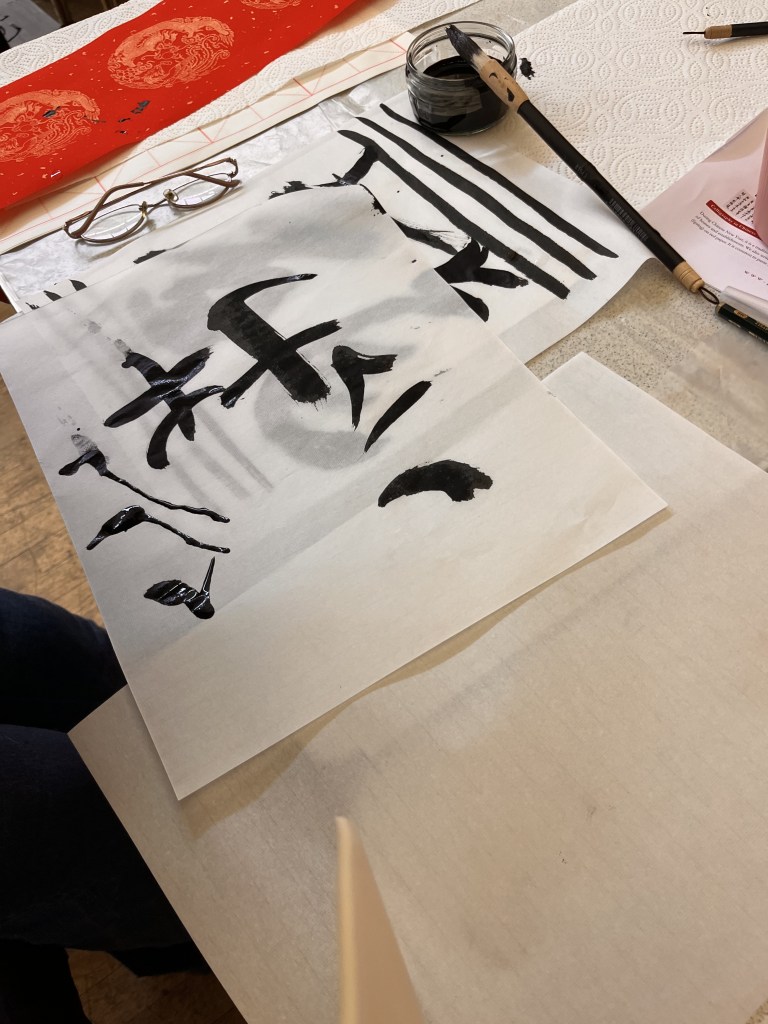
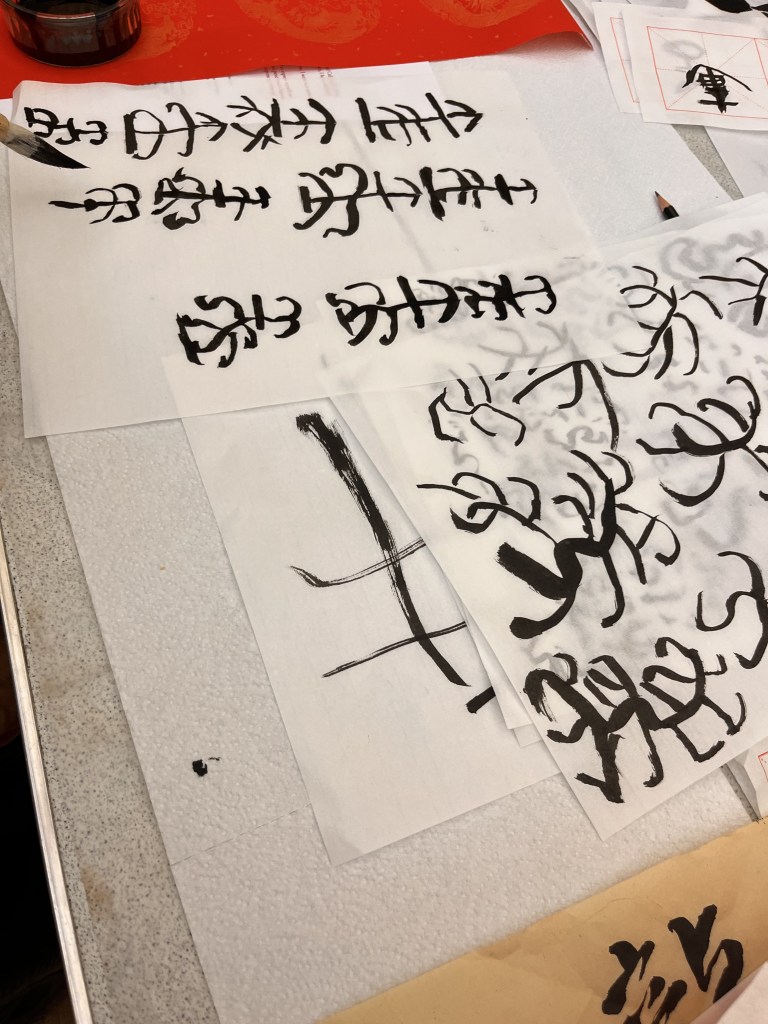
During the workshop, we learned about the different ways to use ink, the attention to detail, and the intricacies of Chinese Calligraphy traditions. Many of our members also learned how the Dragon relates to the Chinese New Year.
Below are a selection of works from the session:

These monthly workshops aim to increase and improve our cross-cultural links within Beckton (well, in Newham). We also invite people from other cultures to our group for two workshops focusing on a different cultural art style and the other following a Western art style. So we get to know each other and learn from each other. For this workshop, we had the Newham Chinese Association join us. It was lovely to have them join us as Art For Fun has always had a good relationship with the Chinese Association, so it was brilliant to properly collaborate with each other and get participants from both groups to work together!
If you want to find out more about the Newham Chinese Associate, here is a link to their website: https://newhamchineseassociation.wordpress.com/
I think this workshop was a great beginning to our People Powered Places project for a variety of reasons. The first was that we had a teacher who was from the area and could give us insightful instruction without cultural appropriation or having it focused through a Western lens. This enabled us to understand Chinese Calligraphy as it should be taught instead of having to be forced to change to fit Western standards.
Secondly, thanks to the decoration and the sweets offered, we could learn about Chinese culture in multiple ways, providing a more rounded experience. On top of this, having the lettering and symbols broken down on red paper we stuck to the walls was a great learning tool, as it broke down the symbols, was easily accessible, and doubled as brilliant decoration that helped aid a lovely atmosphere and environment during the session.
I know many Arts For Fun participants loved the workshop. As a volunteer, I felt immensely proud and privileged to hold this event, work with the Newham Chinese Association, and continue having events like this with our People Powered Places grant. I hope the Chinese Association felt welcomed, respected and that we were taking their culture and art style seriously.
Thank you for reading our February update! We would love it if you joined our next workshop. if you are interested in what we do, then please email:
Alternatively, follow our Instagram and WordPress pages for updates and photos!
